Suppose you’re ready to launch your first online course. In that case, you’re probably wondering how to go around recording the lessons on video. If so, then keep reading!
Video is the most popular form of online course content. That’s not surprising if you consider video content to be multi-sensory, which makes the learning process much easier. What’s more, it’s the closest form of learning to regular, on-site, individual classes with a teacher.. While watching your online course, students can see and hear your content, which makes it more interesting and memorable.
Although it might seem difficult to produce high-quality videos if you’re new to video recording, you will quickly notice that it’s not such a scary thing.
To put that straight: you don’t need pricey equipment or years of on-camera expertise to create high-quality films for your online class.
Actually, you can record online courses at home. What’s more, you can create videos of the highest quality with just the most essential equipment!
In this article, we walk you through the entire video recording process and give you some tips on recording an online class at home. Let’s dive in!
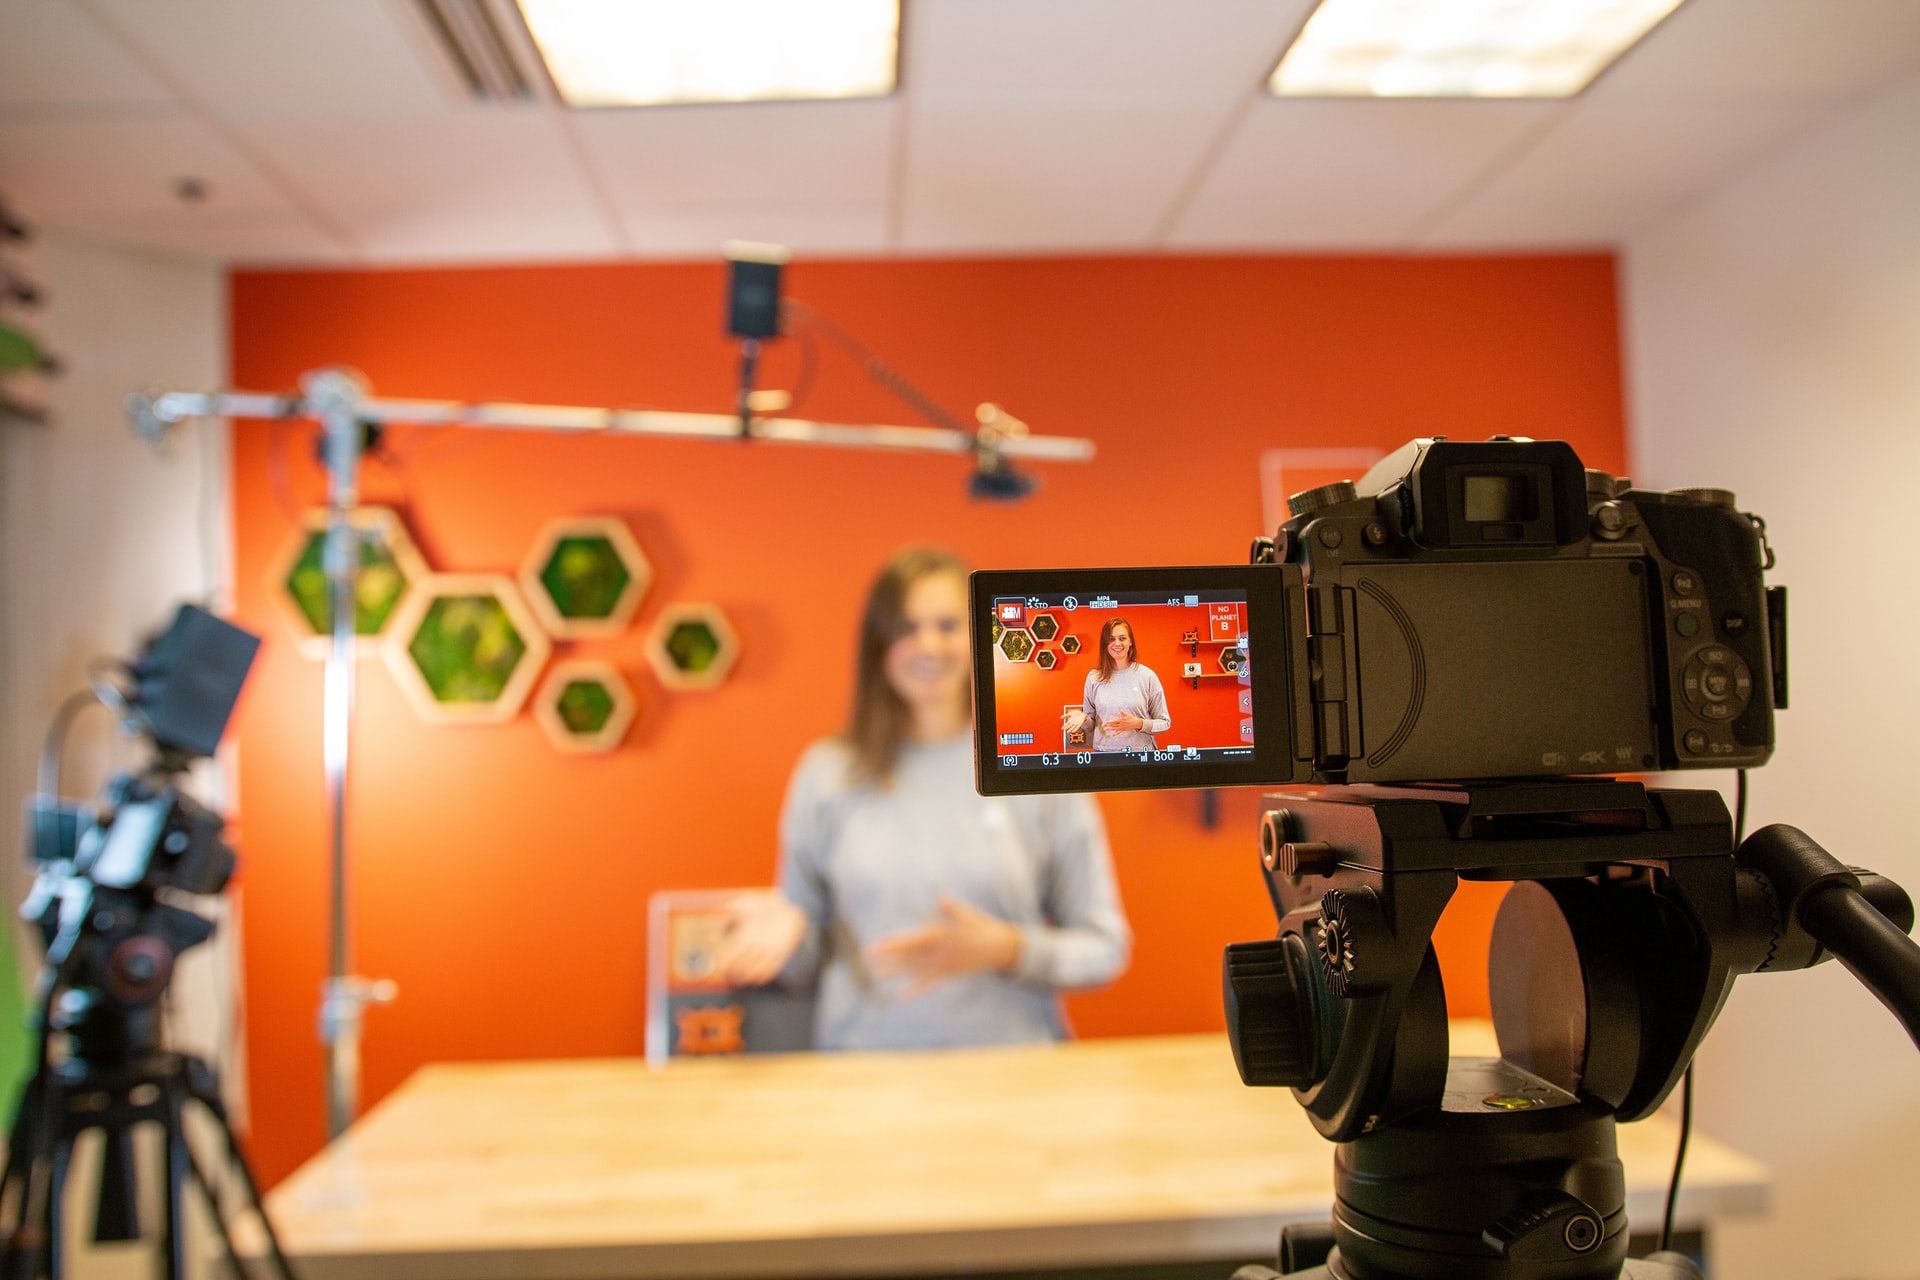
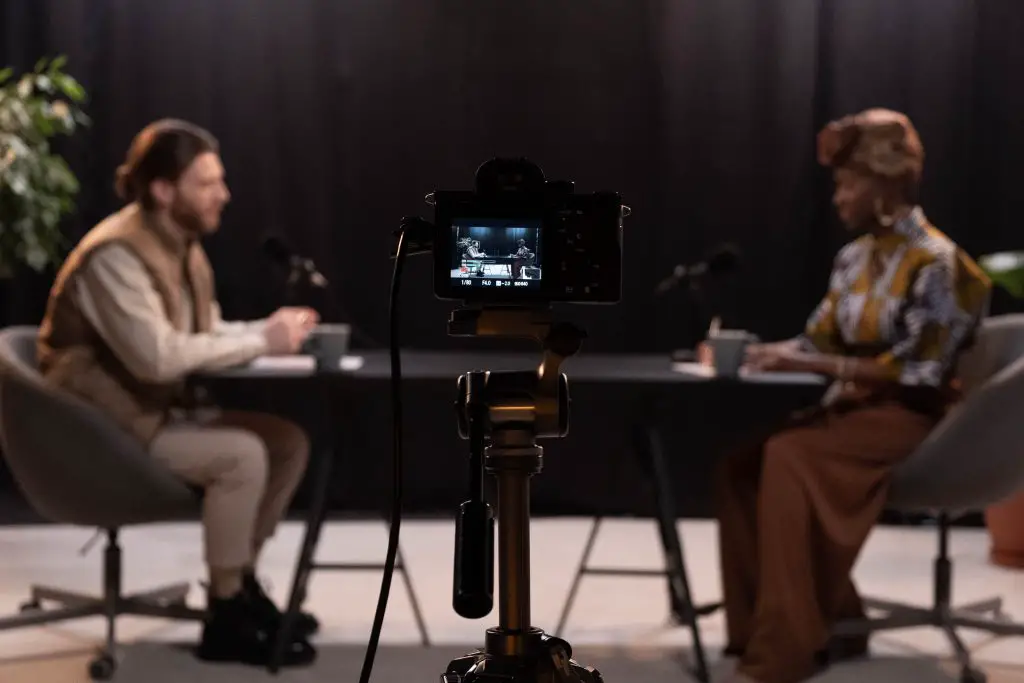
How to record online classes at home
If you want to record lessons at home, you will definitely need some equipment. Sometimes it’s a good idea to search for great quality equipment on auctions. Getting what you want can require some negotiating skills but you can also use door in the face technique.
Equipment
Before you press the record button, you must prepare the right equipment. Here are the materials you’ll need to start filming:
- A digital recorder
- A microphone
- Lighting setup
Now we’ll go over the equipment you need in more detail and our recommendations:
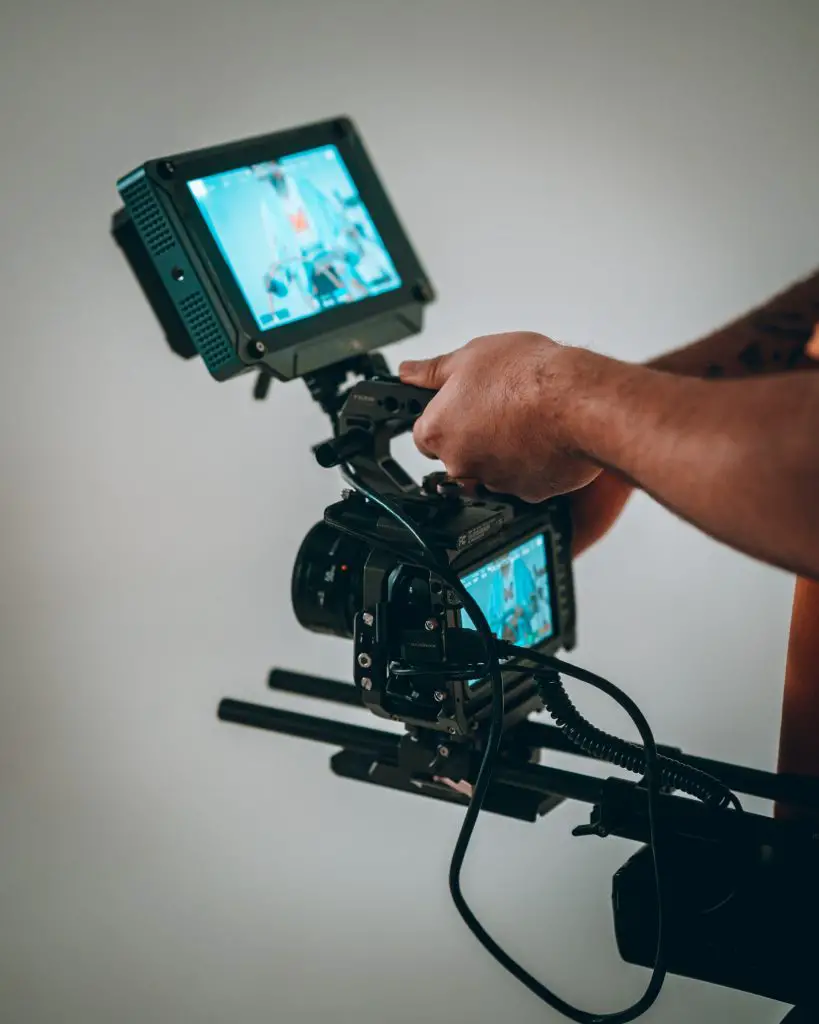
Cameras
The good thing is you don’t really need an external camera. Nowadays, many smartphone cameras are at least 1080p, which is enough to make a high-quality video. This way you can reduce the costs of online course development.
However, if you want to sweep out the competition and make a professional video course, it’s best to use an external camera. The best ones in this category are Canon and Sony. Whichever one you choose, you should be good to go.
And if you’re recording on your computer, you definitely need a high-quality camera rather than using the built-in one.
Video quality is extremely important nowadays. People watch tons of tutorials on YouTube that are free which means you have to make your online course engaging for people to purchase it.
If you’re curious about our recommendations, here are some of our top webcam picks:
Logitech HD Pro C920 ($81.95)
The Logitech HD Pro C920 is an external webcam on the more affordable side. It provides 1080p video and connects by USB with computers operating on Windows, macOS, and Chrome OS.
Logitech BRIO ($199.99)
Another Logitech camera model, BRIO, is a great webcam option. It’s more expensive, but it records in 4K and is great for streaming, video conferencing, and recording.
Elgato Cam Link 4K ($129.99)
If you have a DSLR camera (aka external camera), you can use it as a webcam and record your online course videos with the Elgato Cam Link 4K. It allows you to use your camera as a webcam by converting the HDMI signal from your camera to USB.
AmazonBasics Lightweight Mount Camera Stand ($15.70)
Tripod is a really helpful tool whether you use a smartphone, camera, or webcam. It stabilizes your camera, so it doesn’t pick up extra movement from whatever surface it’s on and makes your shot look shaky.
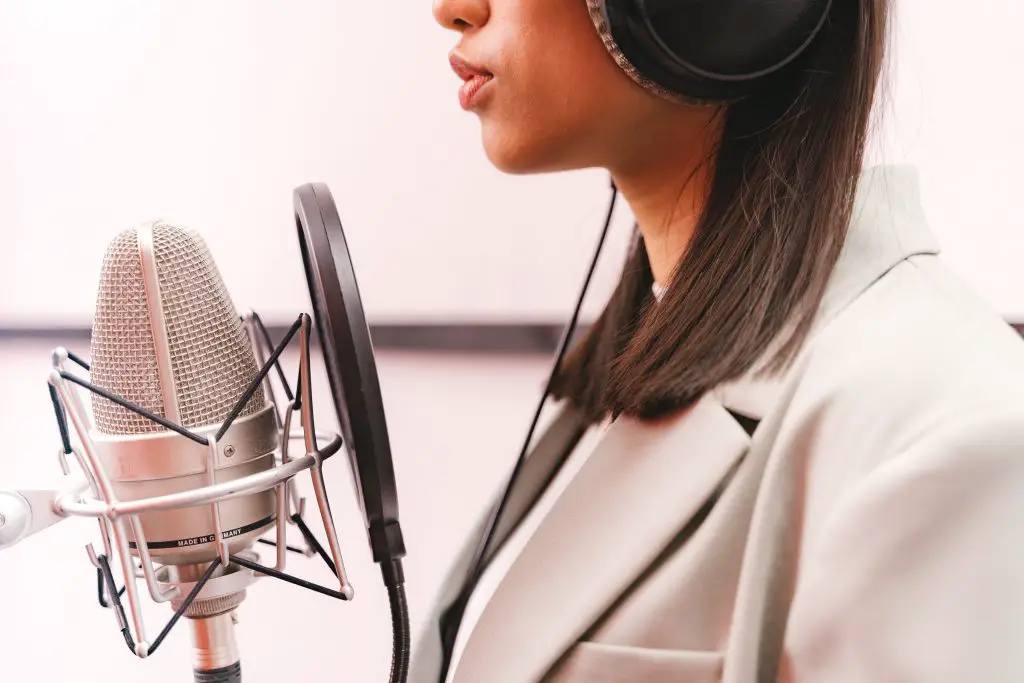
Microphones
Video quality is an important aspect of your online course lessons. According to TechSmith, 75 percent of videos rated “good” or “amazing” videos had intelligible voiceover audio.
If your audience can’t hear you or there’s a lot of background noise, they’re unlikely to stay through the whole video—or finish your online course.
We suggest using an external microphone rather than the one built into your computer for the greatest audio quality.
There are essentially two types of microphones – dynamic and condenser.
With dynamic microphones, you don’t have to worry about ambient noise or acoustics, thanks to their ability to smooth over voice flaws and isolate your voice.
Condenser mics pick up sound with greater refinement and accuracy, making them a great choice for recording studios that don’t have a lot of background noise.
If your recording environment isn’t set for recording sound, you’ll achieve a better sound quality with a dynamic microphone. That way, you don’t have to worry about any background noise. However, you can use a condenser mic if you’re recording in a studio.
Now that you know what you’re looking for, here are four of our microphone recommendations.
Blue Yeti USB microphone ($129.99)
The Blue Yeti USB microphone is one of the most popular condenser mics among content creators. It connects to a computer by USB, and you can add on a boom arm to make your desktop a recording studio.
Blue Snowball ($69.99)
The Blue Snowball is an affordable option for a condenser mic. It offers studio-quality sound and connects by USB.
Shure MV88 ($149)
The Shure MV88 is the most portable option, and it makes a great choice if you want to make videos on your iPhone or iPad. It pairs with your iOS device with a built-in lightning connector.
Rode SmartLav+ ($68.87)
This is a lavalier microphone that clips right onto your lapel. It is a hands-free option if you move around a lot while talking. You can plug it into your smartphone’s headphone jack and clip it into your shirt.
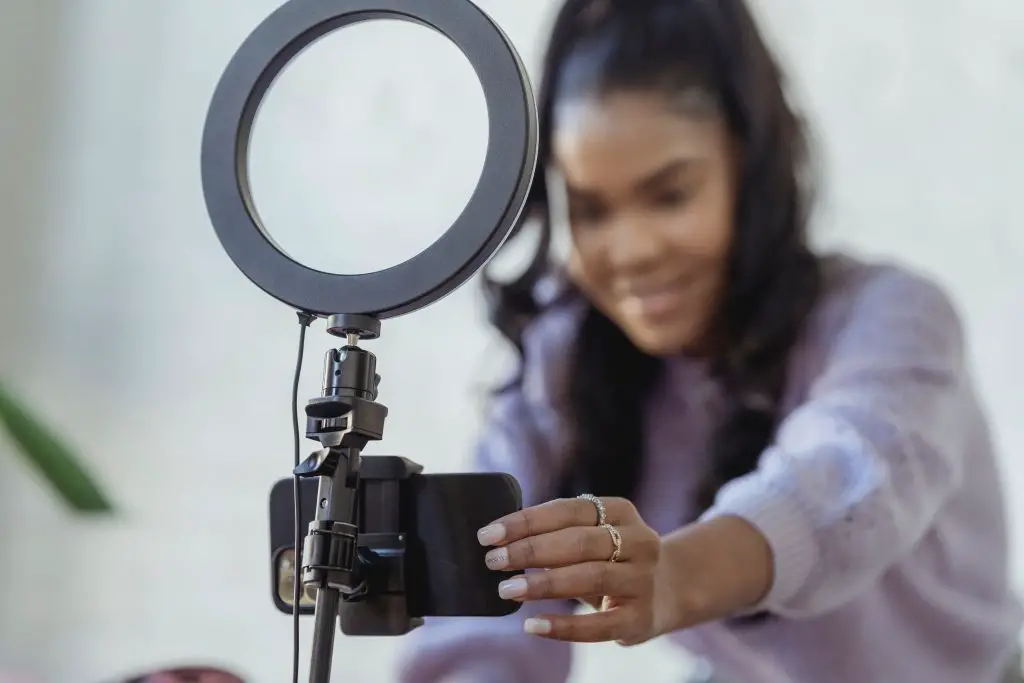
Lighting
You must have good lighting if you want to record video tutorials of the best quality. Even the best camera won’t deliver your desired video quality if the lighting is off.
Of course, you can achieve the soft light required for making a video with natural light coming through your window.
However, a basic lighting setup is advised so that you may shoot video whenever the mood strikes you without having to wait for the ideal light.
Here are some lights we recommend.
Neewer 18″ Ring Light ($89.99)
Light all around your camera with light-emitting diode (LED) lights, eliminating shadows. The Neewer kit has dimmable LED lights and two-color filters that can also serve as a tripod.
Fovitec Softbox Professional Lighting Kit ($189.95)
If you want to invest a little more, consider buying a three-point lighting system like this Fovitec’s set of fluorescent softbox lights. The kit includes three softboxes, 11 45W bulbs, three light stands, one boom arm, and a storage case.
Lume Cube Broadcast Lighting Set ($99.95)
The Lume Cube lighting kit is a tabletop lighting solution that may be used with your webcam, smartphone camera, or DSLR camera.
It’s time to get everything ready in your recording setup once you’ve gathered all of your equipment.
Recording online course video – key points
Have your script ready
Make sure that you prepared beforehand and went over it a few times. Most people can’t just ad-lib an entire video, let alone a video lesson.
On the other hand, you don’t have to learn your entire script by heart. It can take a few tries until you get a perfect take, but that’s ok. Don’t be afraid to fail and practice until you have your perfect shot.
The most important thing is to be natural. Being yourself is the best way to sell your online course.
Double-check
Make sure to test your equipment. Before you start recording, it’s important to test your equipment to make sure everything is working properly.
This includes things like your digital recorder, microphone, and editing software (if you’re using any). Also, ensure you’re speaking directly into the microphone and sit how your face is visible and lit properly.
Screen capture
After you record your video, you want to add screen recordings. Showing your computer screen capture can help make your tutorial easier to follow, especially if your course involves demoing something.
When you’re done recording, you can just click upload. Your lecture capture program will convert your recording into a video file for storage in your video library.
Here is some screen recording software to consider:
Apowersoft Free Online Screen Recorder (free): This is an easy-to-use software that includes no watermarks or time limits.
ScreenFlow ($129): High-quality screen recording software with audio capture. It also includes various editing tools. Available for Mac only.
Camtasia ($249.99): It allows you both to record your screen and edit those recordings with special effects, royalty-free music, and more.
Add voiceovers
After recording your screen, you’ll need to add voiceovers to describe what you’re doing in the video. Several tools will help you record voiceovers:
Audacity (free): Simple yet effective audio editor and recorder that anyone can use. It includes basic editing and mixing features.
Adobe Audition ($20.99 a month): It’s a “digital audio workstation” with editing, mixing, and recording capabilities.
Logic Pro ($199.99 after a free trial): An advanced recording, editing, and sound mixing software with a long list of features. Available for Mac only.
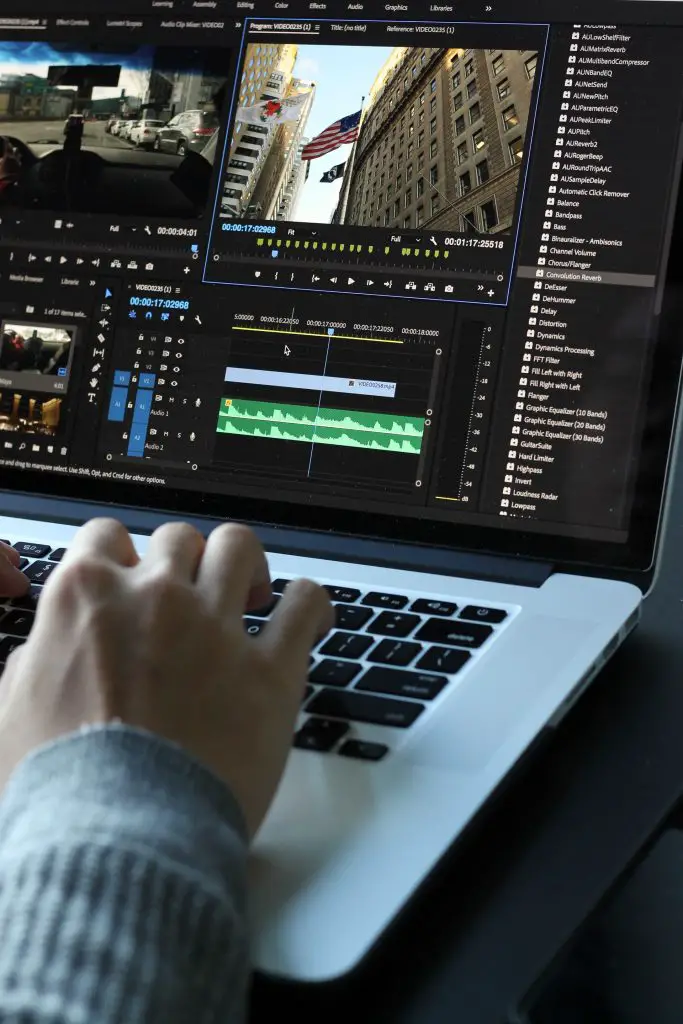
Edit the video
Lastly, you’ll need to edit your videos. Again, many demos on YouTube showing exactly how to edit videos step by step.
Don’t worry if you don’t know everything at the beginning – practice makes perfect.
Here are some video editing software options:
Adobe Premiere Pro ($20.99 a month): Adobe’s Creative Cloud is a collection of applications that let you produce, publish, and distribute video online. Video editing tools include effects and transitions, animation, color correction, and more.
Final Cut Pro ($299.99 a month): Advanced-level editing software featuring fast performance, organizational tools, and support for 360-degree footage and HDR. Mac-only.
Video recording process – essential tips
The key to any successful recording is preparation. You’ll want to take some time before hitting record to do the following things:
Pick a quiet room: Look for a room in your house with good acoustics and little background noise. Once you’ve found the perfect spot, close the door and any other doors leading into the room. This will help contain sound.
Reduce reflections: To avoid echoes in your recording, you’ll want to remove anything that could cause reflections. This includes hardwood floors, bare walls, and windows. You can also try covering up reflective surfaces with blankets or rugs.
Eliminate distractions: Make sure your recording space is clear of any distractions that could take away from your content. This includes toys, pictures, and other items that could capture your attention while recording.
Conclusion
Now that you know the basics of how to record your online course videos, it’s time to get started!
In order to make sure your video recordings go as smoothly as possible, follow these simple tips: test your equipment before starting, ensure you’re in a quiet room with no distractions and eliminate any reflections from the surrounding area.
With a little bit of preparation, you’ll be on your way to creating high-quality videos that will engage and educate your students. Press record and start making money selling online courses today!